
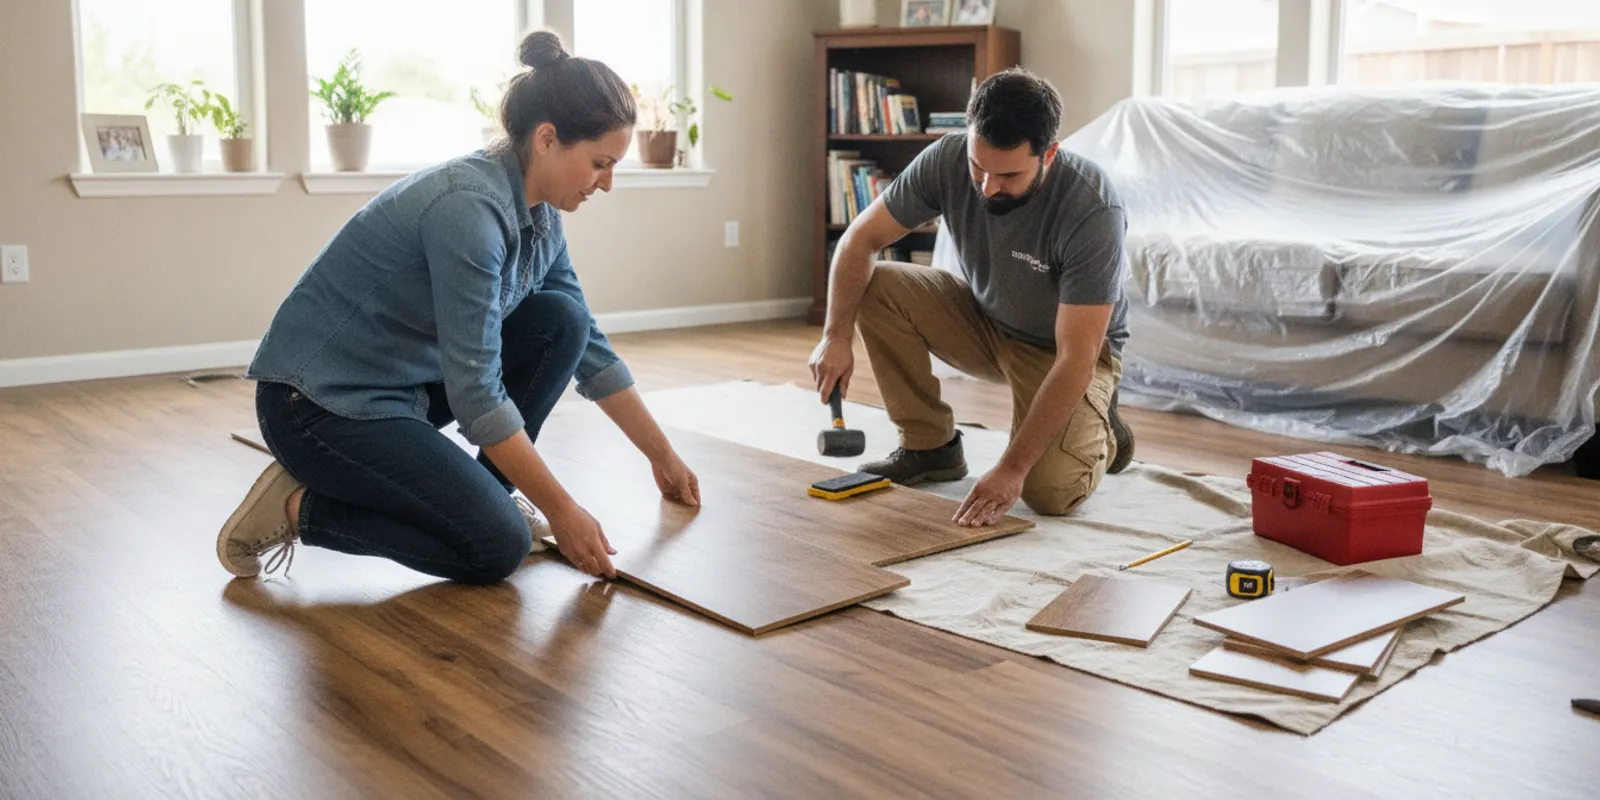
Learn how to plan laminate flooring installation, prepare the subfloor, manage moisture, fit planks, and avoid common mistakes that cause problems.
Learning how to install laminate flooring starts well before the first plank clicks into place. A sound result depends on choosing a compatible product, preparing a flat and dry base, planning the layout, and following the flooring maker’s instructions for your specific room. This guide explains the decisions and steps involved, along with common mistakes to avoid.
What should you check before you buy laminate?
Start by confirming that laminate is suitable for the room and the conditions there. Product features differ: some planks are designed for greater moisture resistance, while others have restrictions on where they can be installed. Read the current product instructions and warranty details rather than relying on a label or a general rule of thumb. Pay special attention to guidance for kitchens, entry areas, laundry spaces, and rooms below grade.
Look at the existing floor and the structure below it. Identify whether the base is concrete, plywood, another wood subfloor, or an existing finish. Check for soft spots, movement, cracks, loose panels, uneven seams, damp areas, and signs of past leaks. Laminate is a finish floor, not a way to fix a damaged or unstable base. A floor that flexes or has persistent moisture needs attention before covering it.
Measure the room’s length and width, then note closets, alcoves, doorways, built-ins, and changes in floor level. Use the product’s coverage information to estimate how many cartons are needed, accounting for cuts and the layout. The amount of extra material depends on the room shape and pattern. Ask the supplier or installer how much to allow, and keep any unopened material and order details until the work is complete.
Think about how the new floor will meet adjoining rooms and existing surfaces. Transitions, stair edges, door clearances, and baseboards affect the finished appearance and the installation sequence. If the work is part of a broader update, coordinate flooring with trim, cabinets, or other planned work. AllFix provides a range of handyman and flooring services, while larger interior changes may fit under its remodeling work.
How do you prepare the room and subfloor?
Empty the room and remove obstacles that would prevent a continuous installation. Take off baseboards or shoe molding carefully if they will be reinstalled, and label pieces by location. Check whether door casings need to be trimmed so the plank can slide beneath them. Remove doors if they interfere with the work, and confirm that they will clear the new floor height when rehung.
Remove the old floor only when the new product’s instructions call for it and you can do so safely. Some laminate systems can be installed over certain existing hard surfaces; others require a different preparation. Carpet and soft underlay are generally not a suitable base for a floating laminate floor. Do not assume that every existing floor can stay in place. Confirm compatibility, floor height, and required preparation for your product.
Clean the exposed subfloor thoroughly. Scrape away residue that could create a bump, vacuum dust and debris, and inspect the whole area in good light. Secure loose panels or boards and address squeaks or movement at their source. Use the product instructions to determine how flat the base must be and how to correct high or low areas. Do not try to compensate for an uneven surface by forcing planks together or adding an unapproved soft layer.
Moisture deserves careful attention. Look for stains, musty odors, condensation, plumbing leaks, or dampness near exterior walls. Resolve the source rather than covering it. Concrete and wood substrates may need different checks and preparation, and the required moisture test or acceptable conditions depend on the flooring system. Follow the manufacturer’s specifications, including any required vapor retarder or moisture-control layer. The U.S. Environmental Protection Agency provides general information about moisture and indoor environments; that general guidance does not replace the floor maker’s installation requirements.
Choose underlayment only after checking what the product needs. Some planks have an attached pad. Adding another layer when it is not approved can make the floor too soft, affect joints, or conflict with the warranty. Other products require a separate underlayment or a specific moisture layer. Match the material and installation method to the instructions for both the flooring and the subfloor.
How should you acclimate the planks and plan the layout?
Bring unopened cartons into the room only as directed by the manufacturer. Temperature, humidity, carton position, and acclimation time vary among products, so do not rely on a universal number of hours. Keep the boxes stored as instructed, and make sure the room conditions meet the specified range before installation. Rushing this step can contribute to gaps, buckling, or other movement after the floor is installed.
Open and inspect cartons as you work. Check for damaged edges, inconsistent appearance, and any pieces that should not be used. Mix planks from several cartons so natural color and pattern variation is distributed across the room rather than concentrated in one area. Keep the product identification and a few spare planks in case a future repair is needed.
Decide which direction the rows will run. The room’s shape, the direction of incoming light, the locations of doorways, and the manufacturer’s guidance can all inform the choice. Dry-plan the first and last rows before locking pieces together. If the final strip would be very narrow, adjust the starting row so the cuts are more balanced. Consider how the layout will continue through doorways and how each edge will meet a transition or another surface.
Mark the starting line and check it against the room, not just one wall. Walls are not always straight. Work out where end joints will fall, and stagger them as specified by the product maker. Avoid lining up joints in a repeating ladder pattern or leaving very short pieces where they would be weak. Follow any minimum stagger or piece-length requirements in the instructions.
How do you install a floating laminate floor?
Many laminate products use a floating click-lock system, but the exact joint and locking method differ. Read the instructions from start to finish and keep them nearby. If the product calls for a particular tool, tapping block, pull bar, or assembly sequence, use the recommended method. Do not strike a plank edge directly with a hammer; damaged locking edges can prevent a tight joint.
- Set up the first row. Place the required spacer blocks along the starting edge to preserve the expansion space specified by the manufacturer. Position the first planks in the correct orientation and join their short ends using the product’s method. Check that the row is straight and secure before continuing.
- Build each row carefully. Cut the first plank of a new row to create the planned stagger, then engage the long edge and end joints as directed. Work steadily rather than forcing a joint that does not line up. If a plank will not seat, separate it and check for debris, damage, or incorrect positioning.
- Check the floor as you go. Keep rows aligned, joints fully engaged, and the required perimeter space open. Periodically inspect the surface for gaps, raised edges, or a shifting starting line. Correct issues early, before they are locked in by later rows.
- Measure and cut the final pieces. Mark cuts carefully, accounting for the expansion space at walls and obstacles. Use a suitable cutting tool and follow its safety instructions. Wear eye protection and control dust; use hearing protection when the tool requires it. Keep hands clear of the blade and support the material securely.
- Fit the last row and edges. A pull bar or other recommended tool may help engage joints in tight spaces. Do not pry against a finished plank in a way that damages its edge. Remove spacers only after the floor is fully assembled, at the stage specified by the product instructions.
Laminate generally needs room to move as conditions change, so do not pin a floating floor beneath fixed cabinets or trap it with fasteners unless the product instructions explicitly allow it. Keep the required perimeter gap at walls, pipes, door frames, and other fixed objects. The proper gap and treatment of unusual details depend on the product. Cover exposed expansion spaces with suitable trim or molding, attached to the wall rather than through the floating floor.
What finishing details are easy to overlook?
Plan transitions before laying planks up to every doorway. A transition profile may be needed where the laminate meets another floor, where the surface height changes, or where the product requires a break between areas. Follow the profile maker’s instructions for its track and fasteners. Avoid fastening through the floating planks in a way that prevents movement.
Reinstall baseboards or fit shoe molding to cover the perimeter gap without pressing down on the floor. Carefully undercut door casings when the layout calls for the planks to pass beneath them, leaving the required movement space. Around pipes or other fixed penetrations, use the method and trim details recommended by the manufacturer. Neat cuts matter, but preserving the floor’s movement space matters too.
Clean the completed surface using the care instructions for the specific product. Do not flood the floor or use cleaners that the manufacturer says to avoid. Keep leftover planks, the product name, and installation paperwork for future reference. Take a final look at transitions, door swing, trim, and the entire floor in good light. If you spot a raised joint or gap, identify the cause before deciding whether a plank needs to be reset or replaced.
What common installation mistakes should you avoid?
- Skipping subfloor checks: Debris, movement, or unevenness can telegraph through the finished surface or stress the joints. Clean and correct the base first.
- Ignoring moisture: Covering a leak or damp substrate can damage the floor and the material beneath it. Find and resolve the source, then verify conditions against the product requirements.
- Guessing at acclimation or expansion space: Neither is the same for every floor. Use the actual instructions for the product and room.
- Using an extra pad without approval: A second underlayment layer can make joints unstable or void product requirements. Confirm the complete floor assembly before installing it.
- Forcing a damaged or misaligned joint: A tight-looking surface is not worth a broken locking edge. Take apart the section and correct the problem.
- Blocking the floating floor: Cabinets, trim, fasteners, or transitions that trap the planks can prevent normal movement. Follow the required clearances and attachment details.
- Leaving layout decisions until the last row: Plan row widths, joint staggering, doorways, and transitions before installation begins.
When does professional installation make sense?
A straightforward room with a sound, dry, compatible subfloor may be manageable for a careful do-it-yourselfer who can make accurate cuts and follow product instructions. The job becomes more demanding when there are multiple rooms, many doorways, stairs, irregular walls, floor-height changes, built-ins, or complicated transitions. Existing damage, uncertain moisture, a visibly uneven base, or questions about the right floor assembly are good reasons to pause and get advice.
Consider the full scope, not just the time spent clicking planks together. Removing old flooring, repairing the subfloor, preparing the surface, trimming doors, moving furniture, and installing transitions can make the project more involved. If work in the room is part of a kitchen or other interior update, coordinate the floor with cabinets and related improvements so the installation sequence makes sense. You can view examples of completed work in the AllFix project gallery and learn about the company’s service areas before discussing your project.
AllFix is a locally owned, licensed, bonded, and insured home repair and remodeling contractor serving property owners in Grant and Adams Counties, Washington. Its team handles handyman repairs and interior remodeling, with service availability varying by location. An estimate conversation is a practical way to explain the room, existing floor, and concerns so the work can be considered before you commit. For a project-specific discussion, use the contact page to request a free estimate.
Explore AllFix Handyman Services
Frequently Asked Questions
Can laminate flooring go over an existing floor?
Sometimes, but it depends on the existing material, its condition, floor height, and the laminate manufacturer’s instructions. The base must be stable, clean, and compatible. Soft flooring, loose material, moisture problems, or unevenness may require removal or repair first.
Does every laminate floor need separate underlayment?
No. Some products have an attached pad, while others call for a separate underlayment or moisture-control layer. Use only the layers specified for the product and substrate. Adding a second pad without approval can interfere with joint stability and product requirements.
How much space should be left at the walls?
The required expansion space varies by product and installation conditions. Check the instructions for the exact flooring you have. Maintain the specified clearance around walls and other fixed objects, then cover the edge with trim that does not pin the floor down.
Can laminate be installed in a kitchen?
Some products are designed for kitchen use, but their water-resistance claims and installation rules are not all the same. Check the product guidance for spills, standing water, perimeter sealing, and cleaning. Address leaks promptly and do not assume that every laminate is waterproof.
What should you do if the subfloor is damp or uneven?
Do not cover it and hope the problem goes away. Find the moisture source, allow appropriate drying, and determine whether repair or professional assessment is needed. Correct unevenness to the limits specified for your product before laying planks.
A careful laminate installation is mostly about preparation: verify the product, address the base, plan the layout, and respect the required movement space. When the room or subfloor raises questions, getting guidance before work starts can help you choose a sound next step.
Tell Us About Your Project
Fill out the form below and we'll contact you within 1 business day.